Build an AI-Powered Knowledge Base from Your Document Library
Upload a document library, enable semantic indexing, and configure your AI agent to search and reference the content during conversations.
Build an AI-Powered Knowledge Base from Your Document Library
What You'll Accomplish
By the end of this tutorial, your AI agent will be able to search through your document library and use it as a knowledge base during conversations. When someone asks a question, the agent searches your documents by meaning — not just keywords — finds the most relevant content, and uses it to give an accurate, grounded response.
What You'll Need
- A Gravity Rail workspace
- Your documents — Markdown or plain text work best. For non-text content like videos or images, use text transcripts.
- A workflow where your AI agent will use the documents
Step 1: Organize Your Documents into Folders
Before uploading, plan a folder structure that mirrors how your content is organized. A clear structure helps your team manage files and helps the AI return more relevant results.
When you're ready to start uploading:
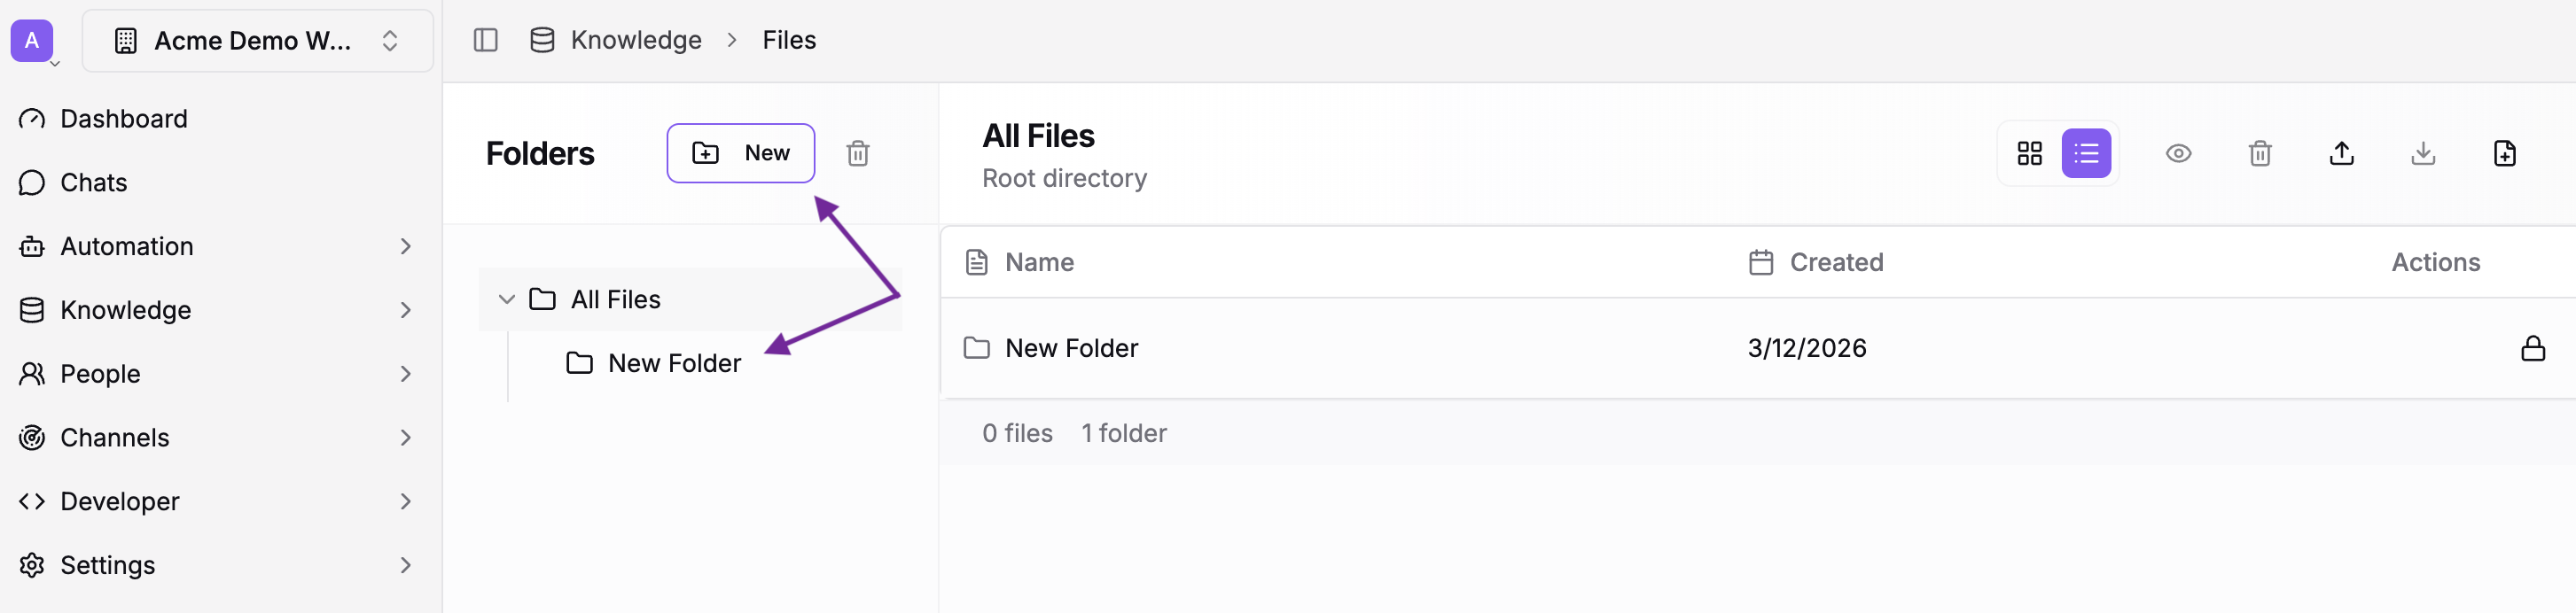
- Go to Knowledge → Files
- Click New Folder to create your top-level folder (e.g., "Education Library")
- Create subfolders for each content category
Example: A railway system library might look like this:
Railway Information/
├── Guides & Booklets/
├── Passenger Information/
└── Safety & Compliance/
Folder names are searchable, so use clear, descriptive names. For example, "Passenger Information" is more specific than "Information".
Step 2: Upload Your Documents
With your folder structure in place, upload your files.
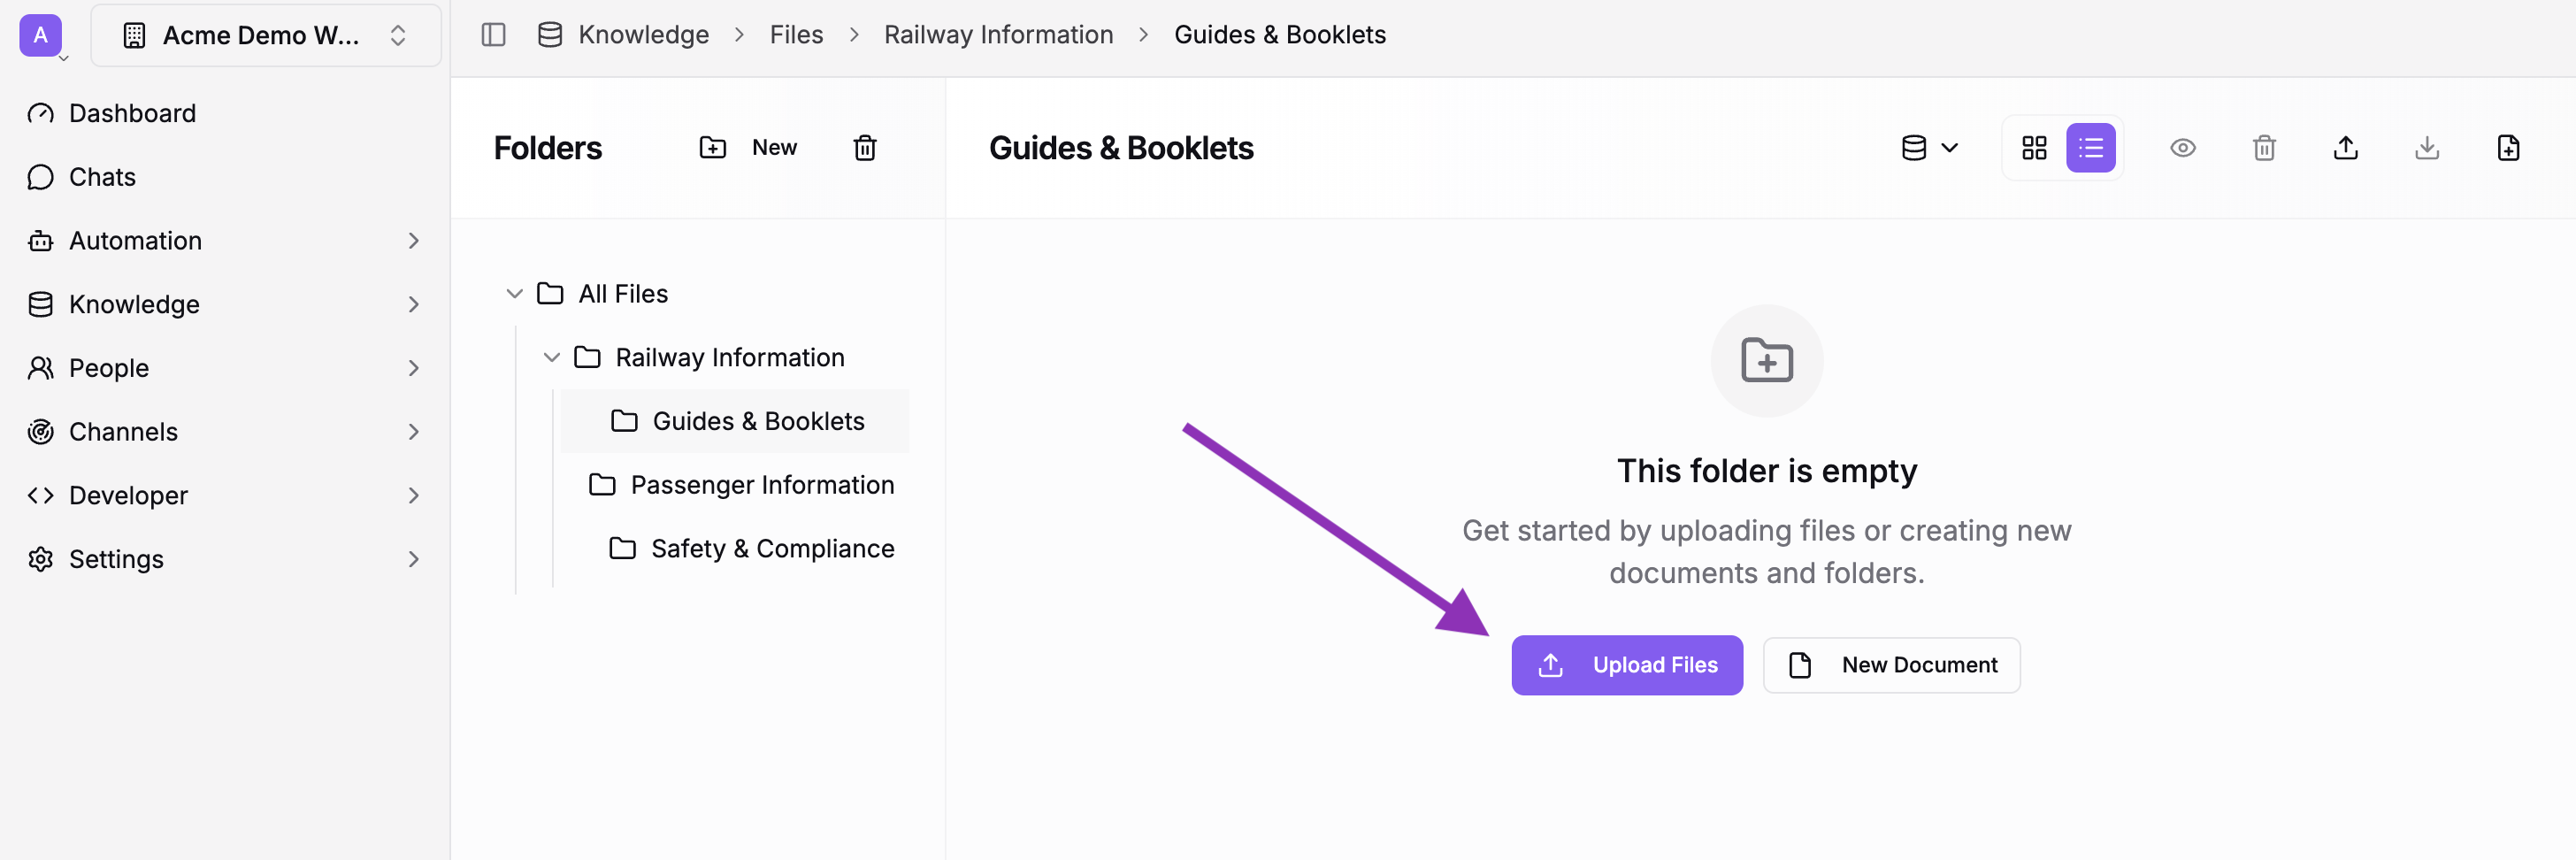
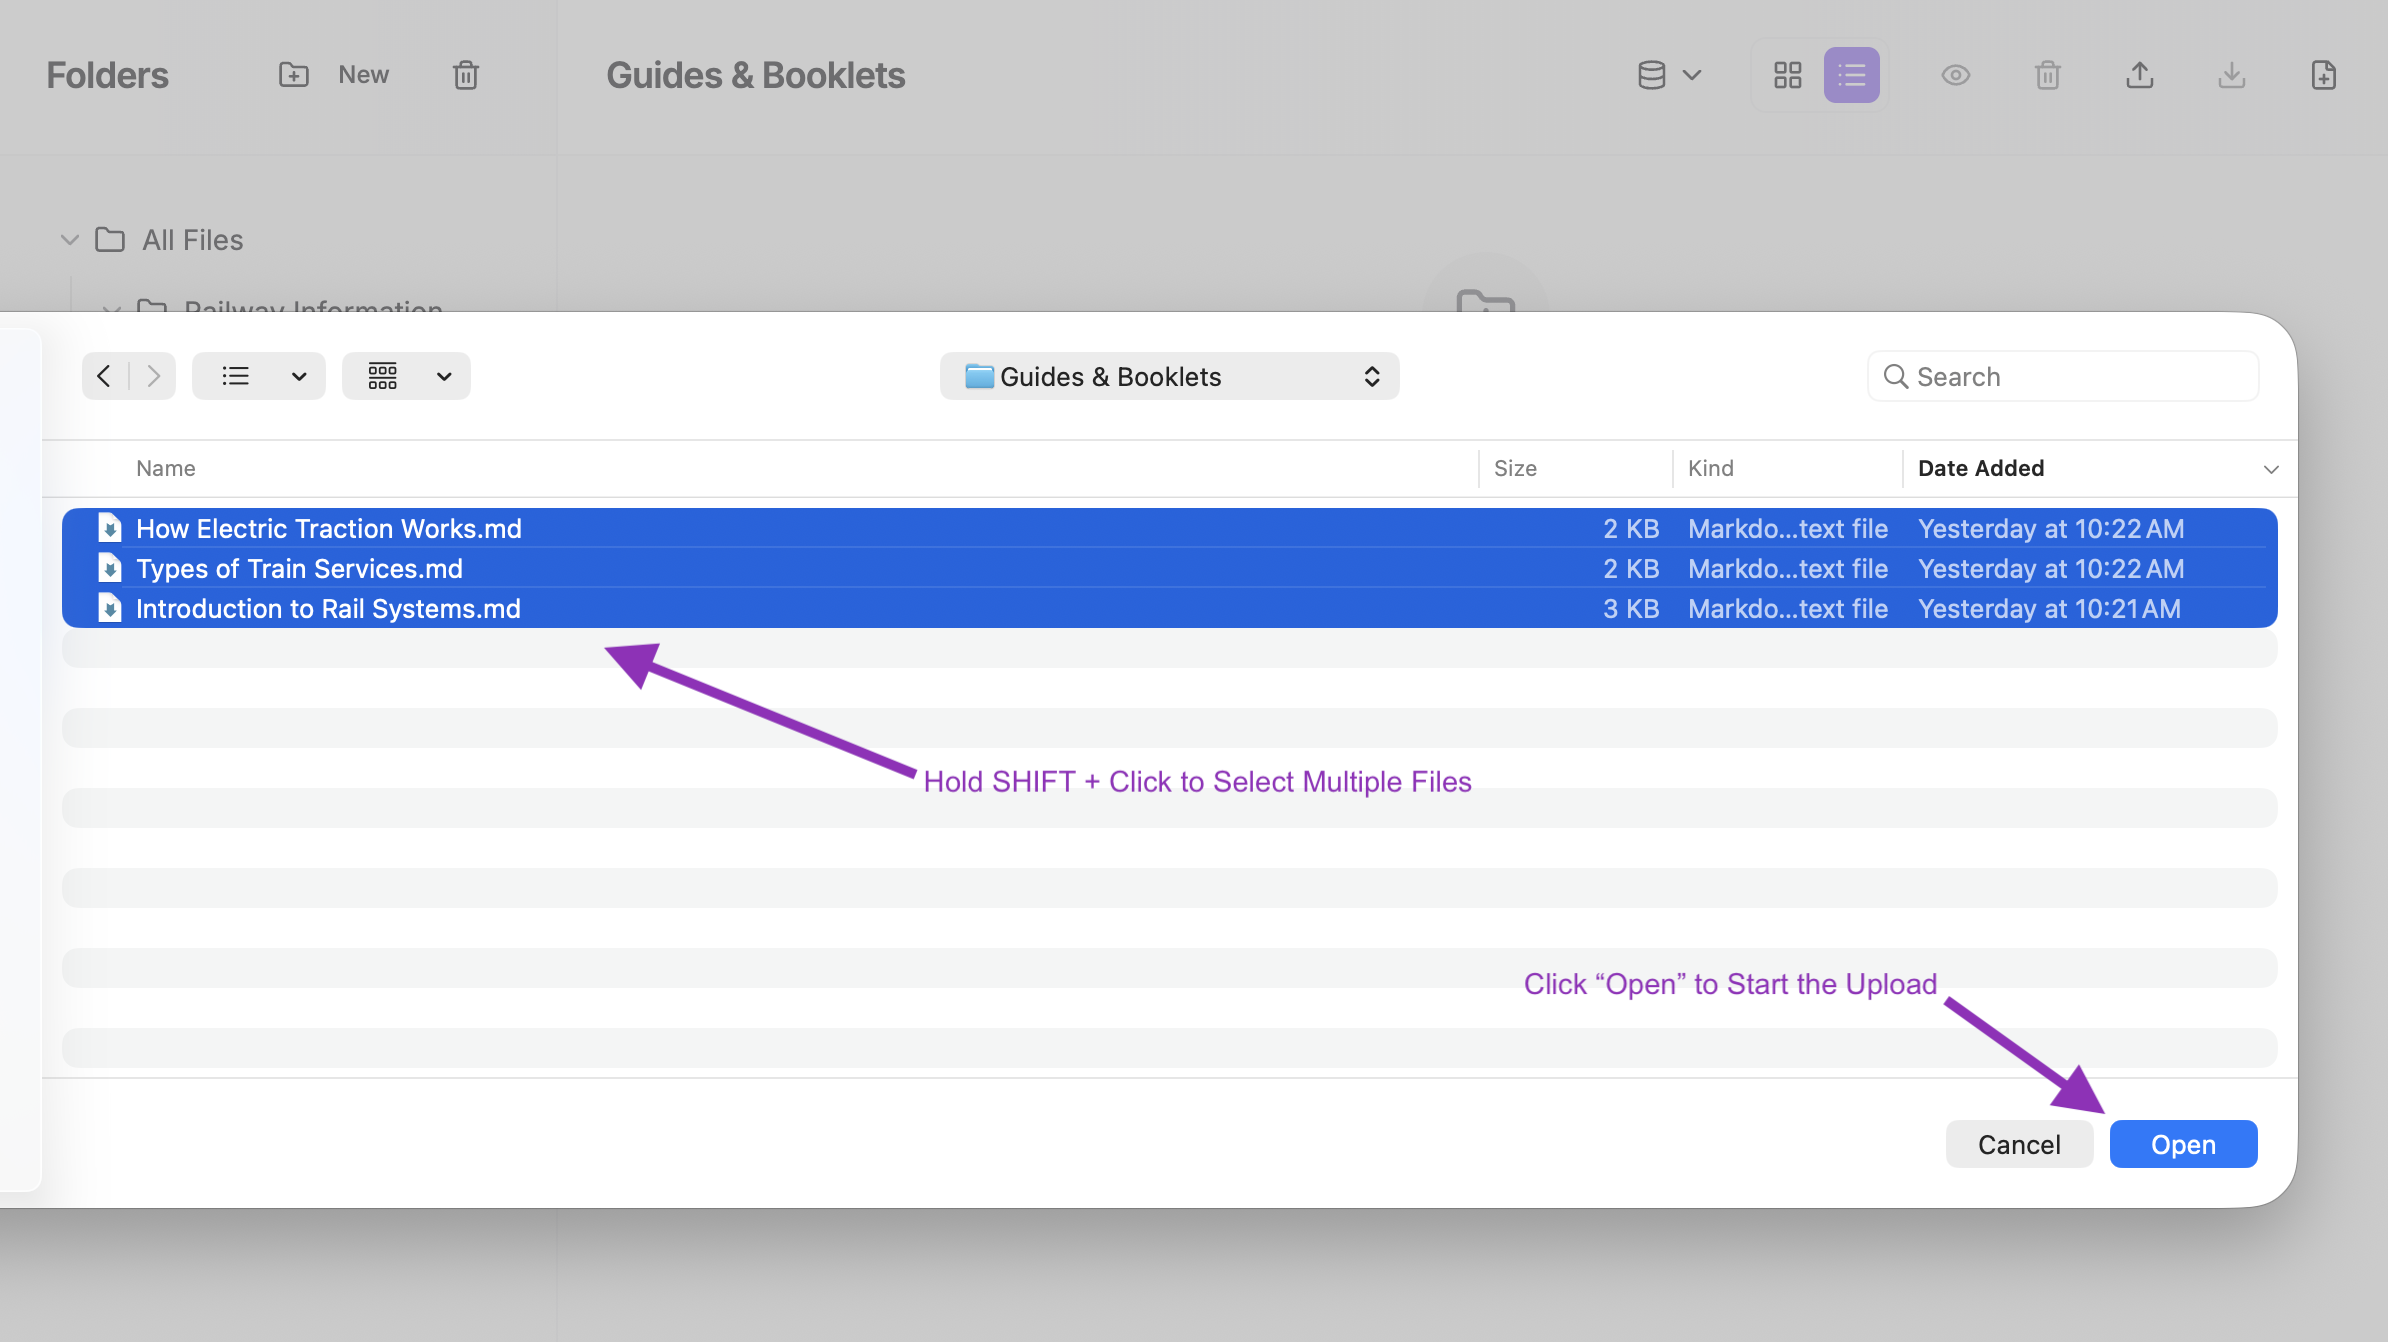
- Navigate to the folder where you want to upload
- Click the Upload button to select files from your computer
- Repeat for each folder
Tips for large libraries:
- Upload in batches by folder to stay organized and track progress
- Use descriptive file names — "Diabetes Nutrition Guide - English.pdf" is more useful than "booklet_v3_final.pdf." The AI uses file names as context when searching.
- If you have content in multiple languages, use separate subfolders or clear naming conventions
For more on file management, see the Files guide.
Step 3: Enable Folder Indexing
This is the step that makes your documents searchable by meaning — not just keywords. When indexing is enabled, the system reads your files and builds a semantic index so the AI can find content based on what it's about.
- Open a folder in the file browser
- Enable Indexing on the folder
- Wait for processing to complete
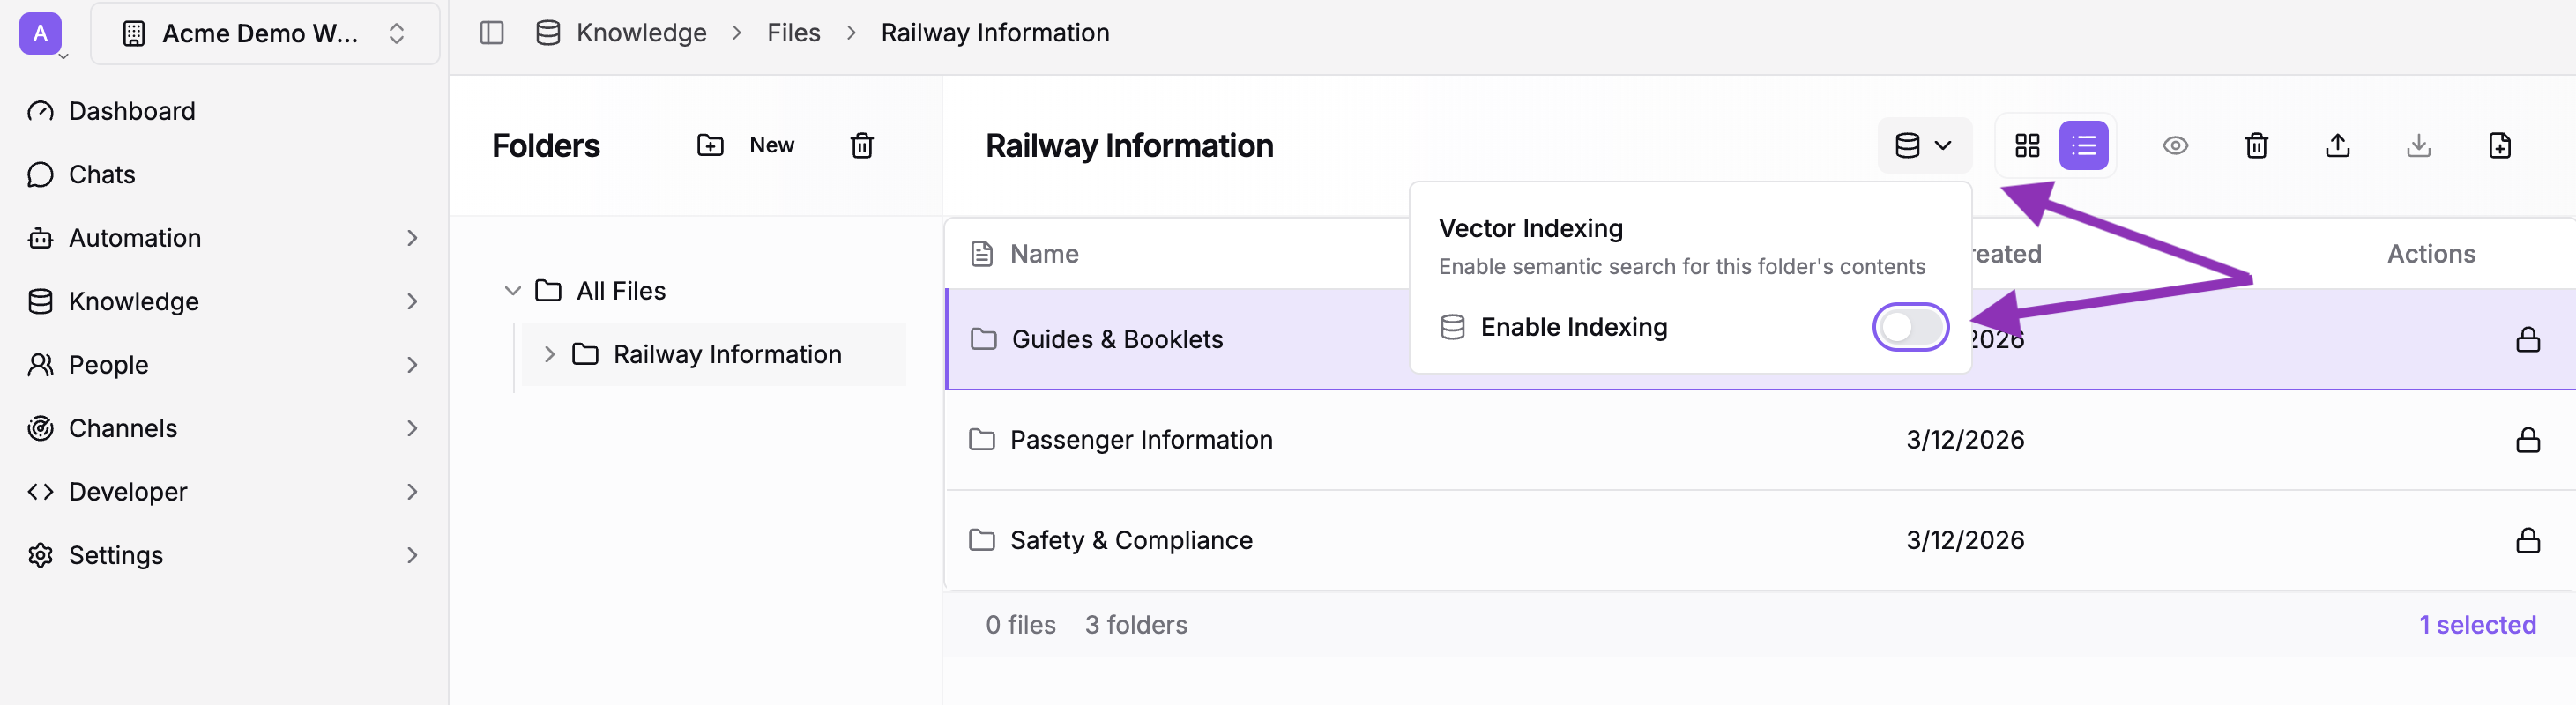
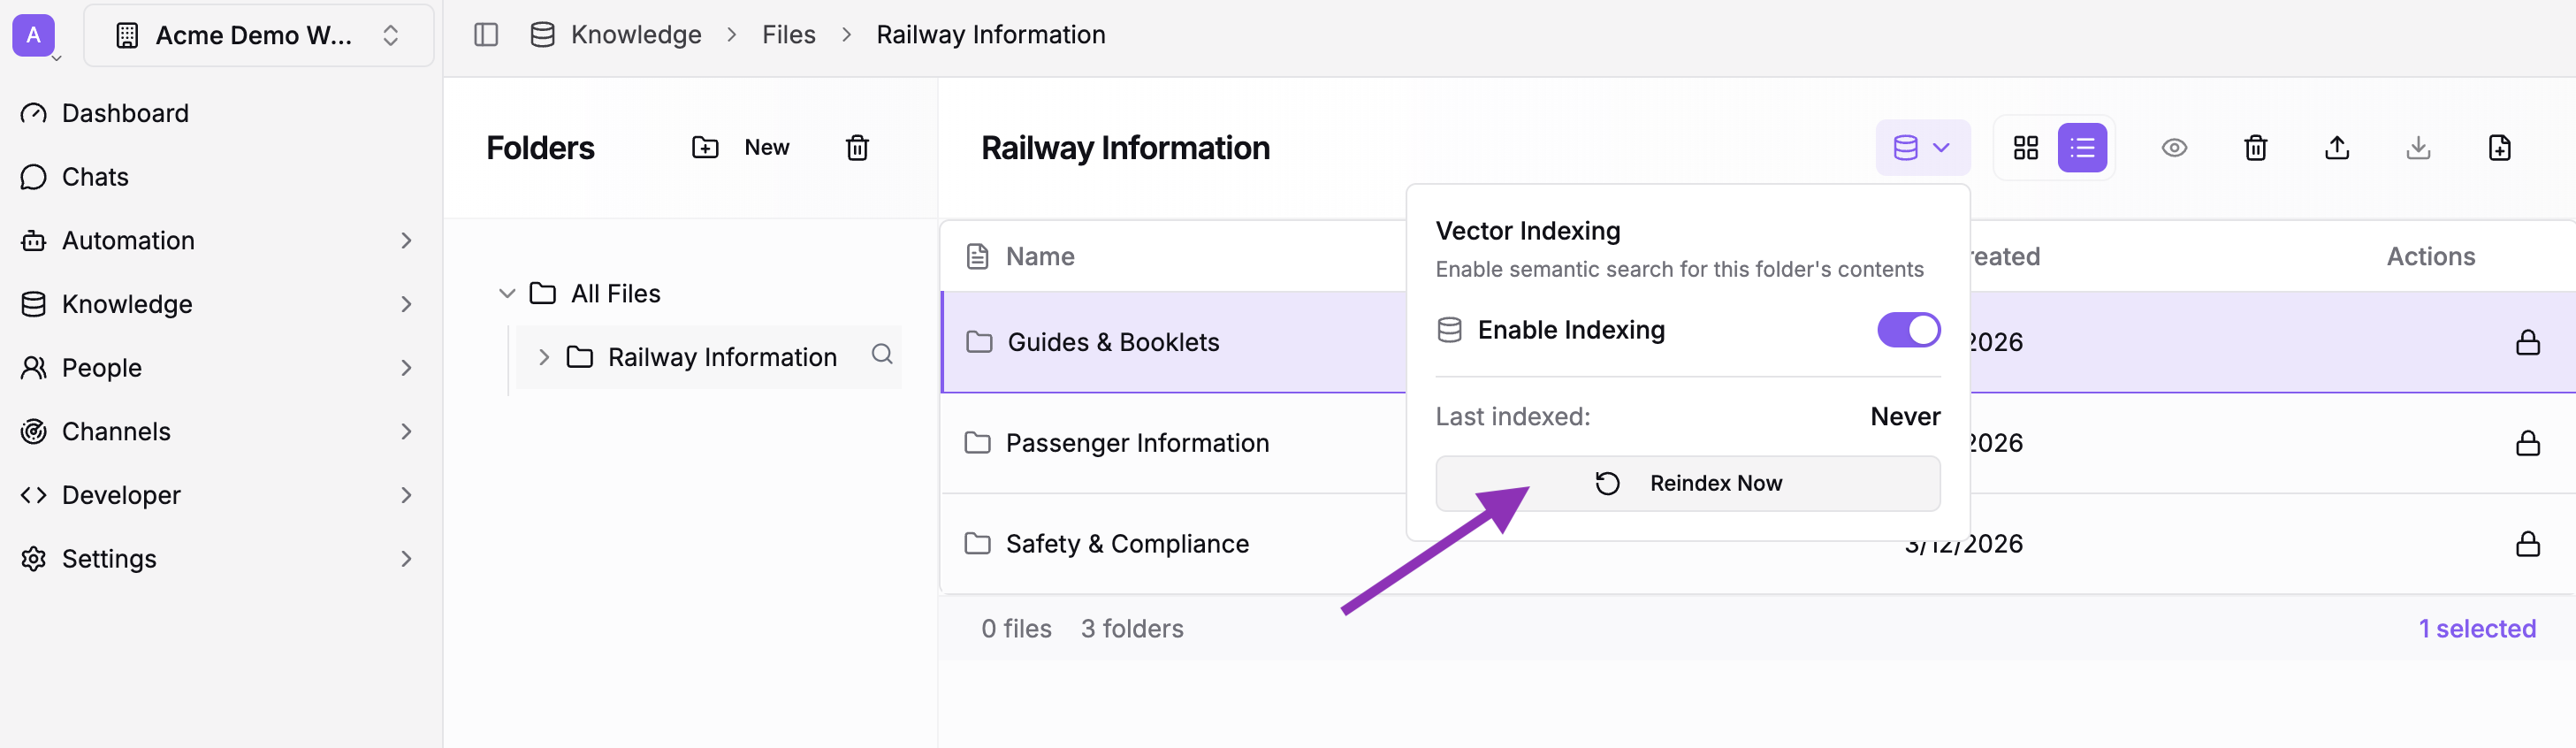
Enable indexing on every folder you want the AI to search. If you have nested subfolders, enable indexing on the parent folder to cover everything beneath it.
Processing takes a few minutes for small folders and longer for large ones. You can keep using the workspace while it runs in the background.
Indexing works best with Markdown (.md) and plain text (.txt) files. For non-text content like videos or audio, upload a transcript or summary document so the AI can search it.
Step 4: Configure the File Access Ability on Your Workflow
Connect your indexed documents to the AI agent by adding the File Access ability to your workflow.
- Open your workflow
- Go to the Abilities tab
- Click Add Ability and select File Access
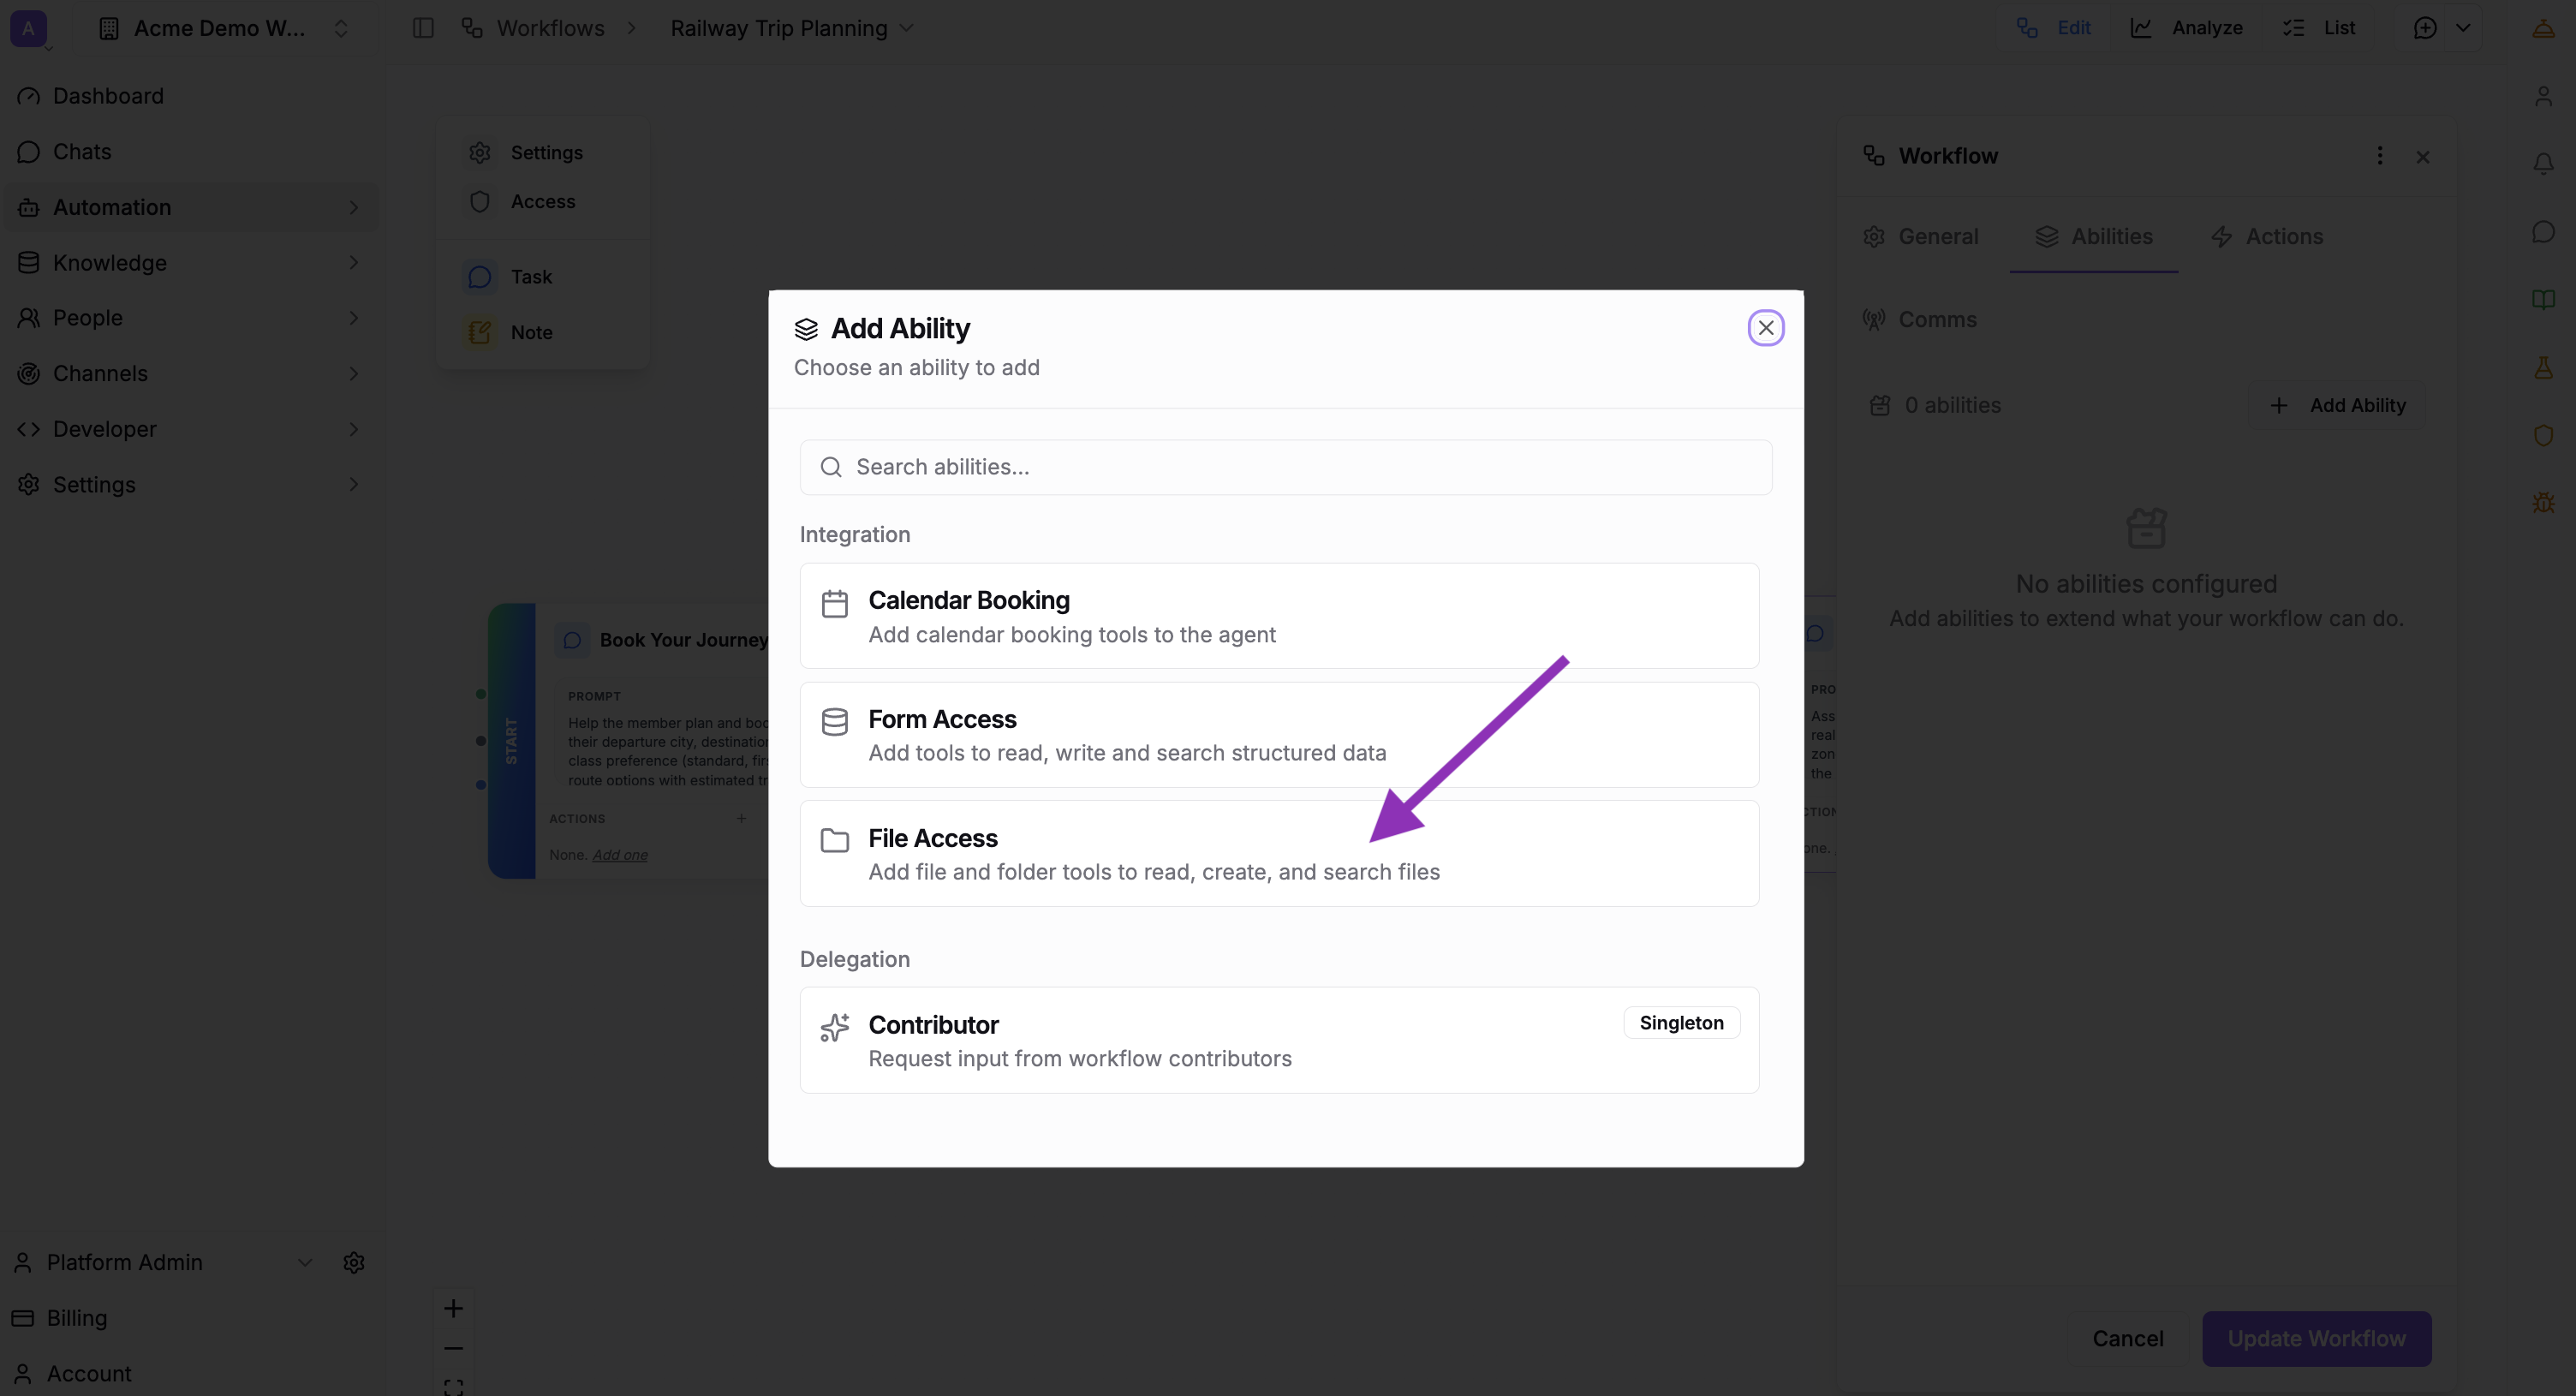
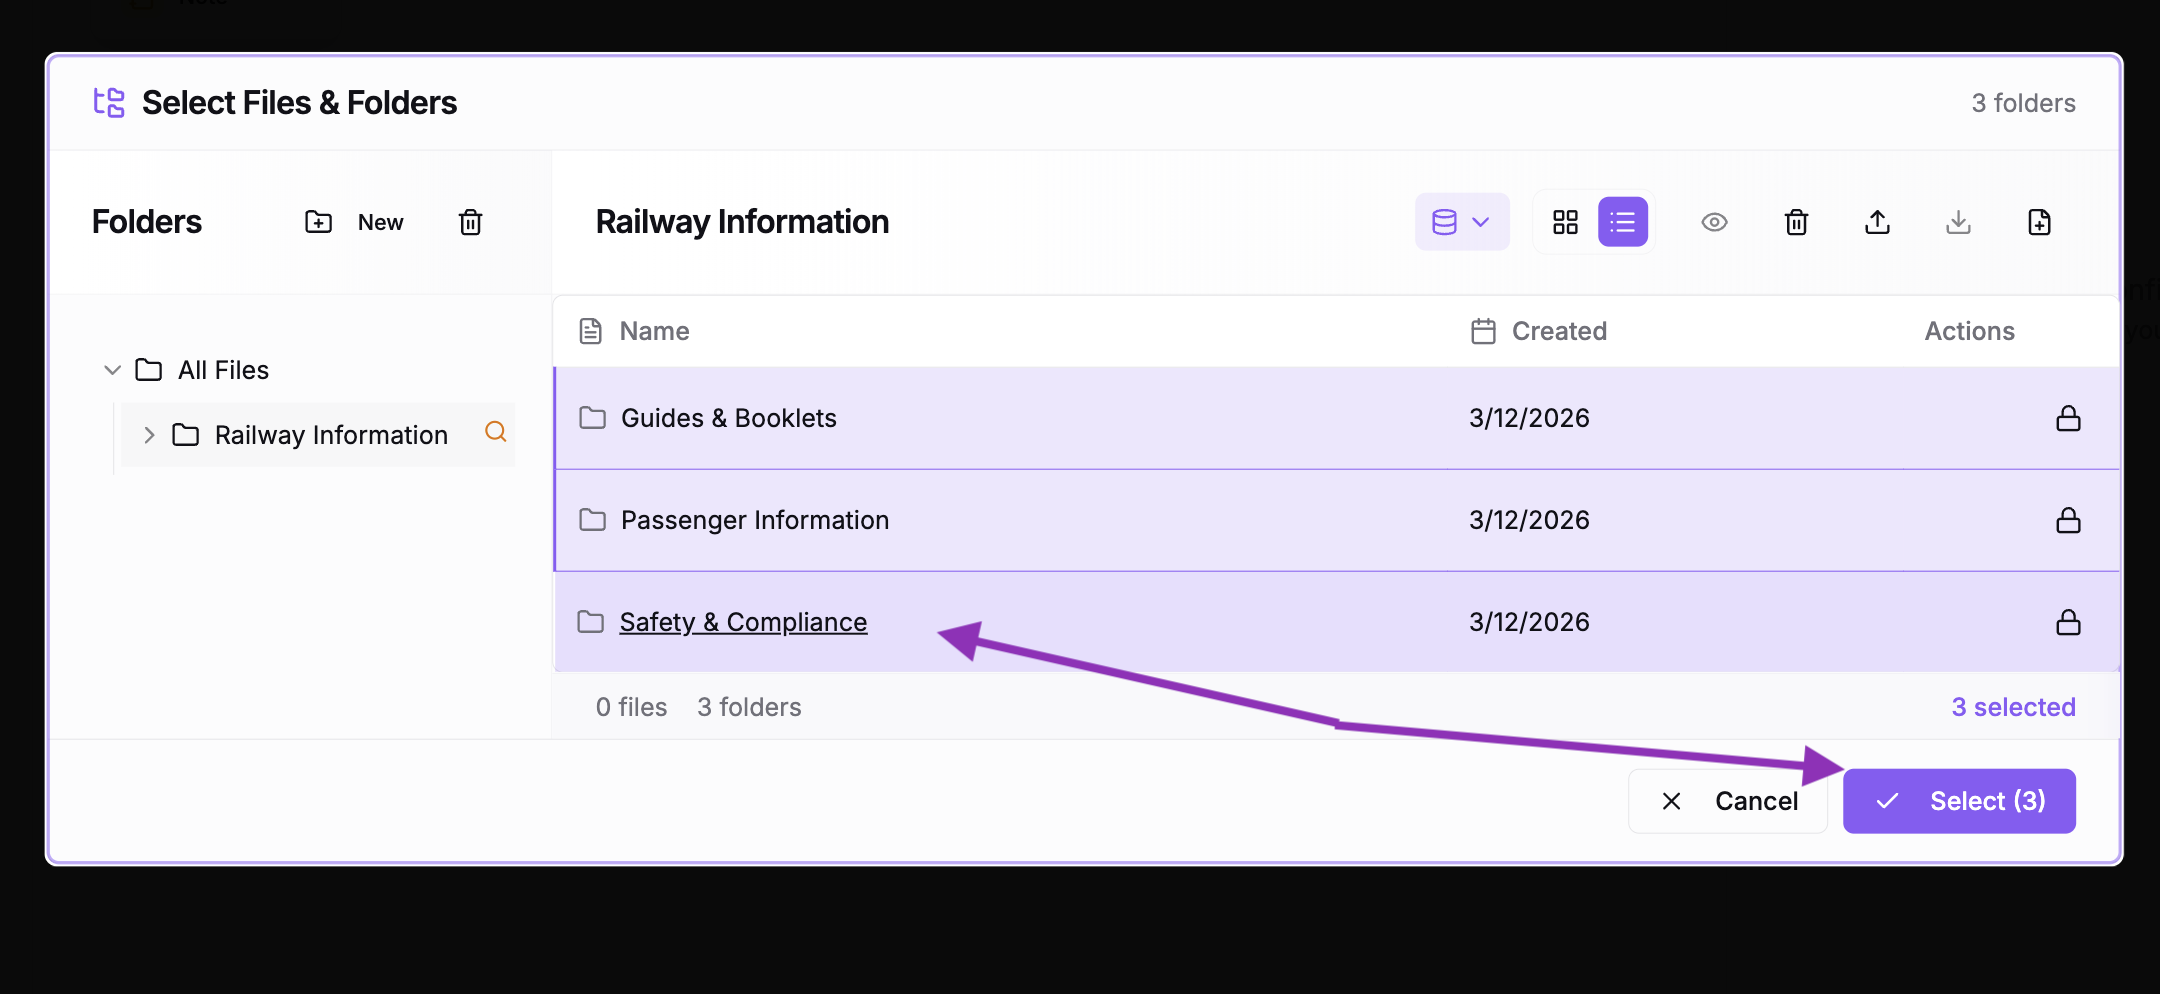
- Select the folders you want the agent to access
- Enable Read and Search permissions — Search lets the agent find relevant documents; Read lets it access the full content to answer questions
- Save
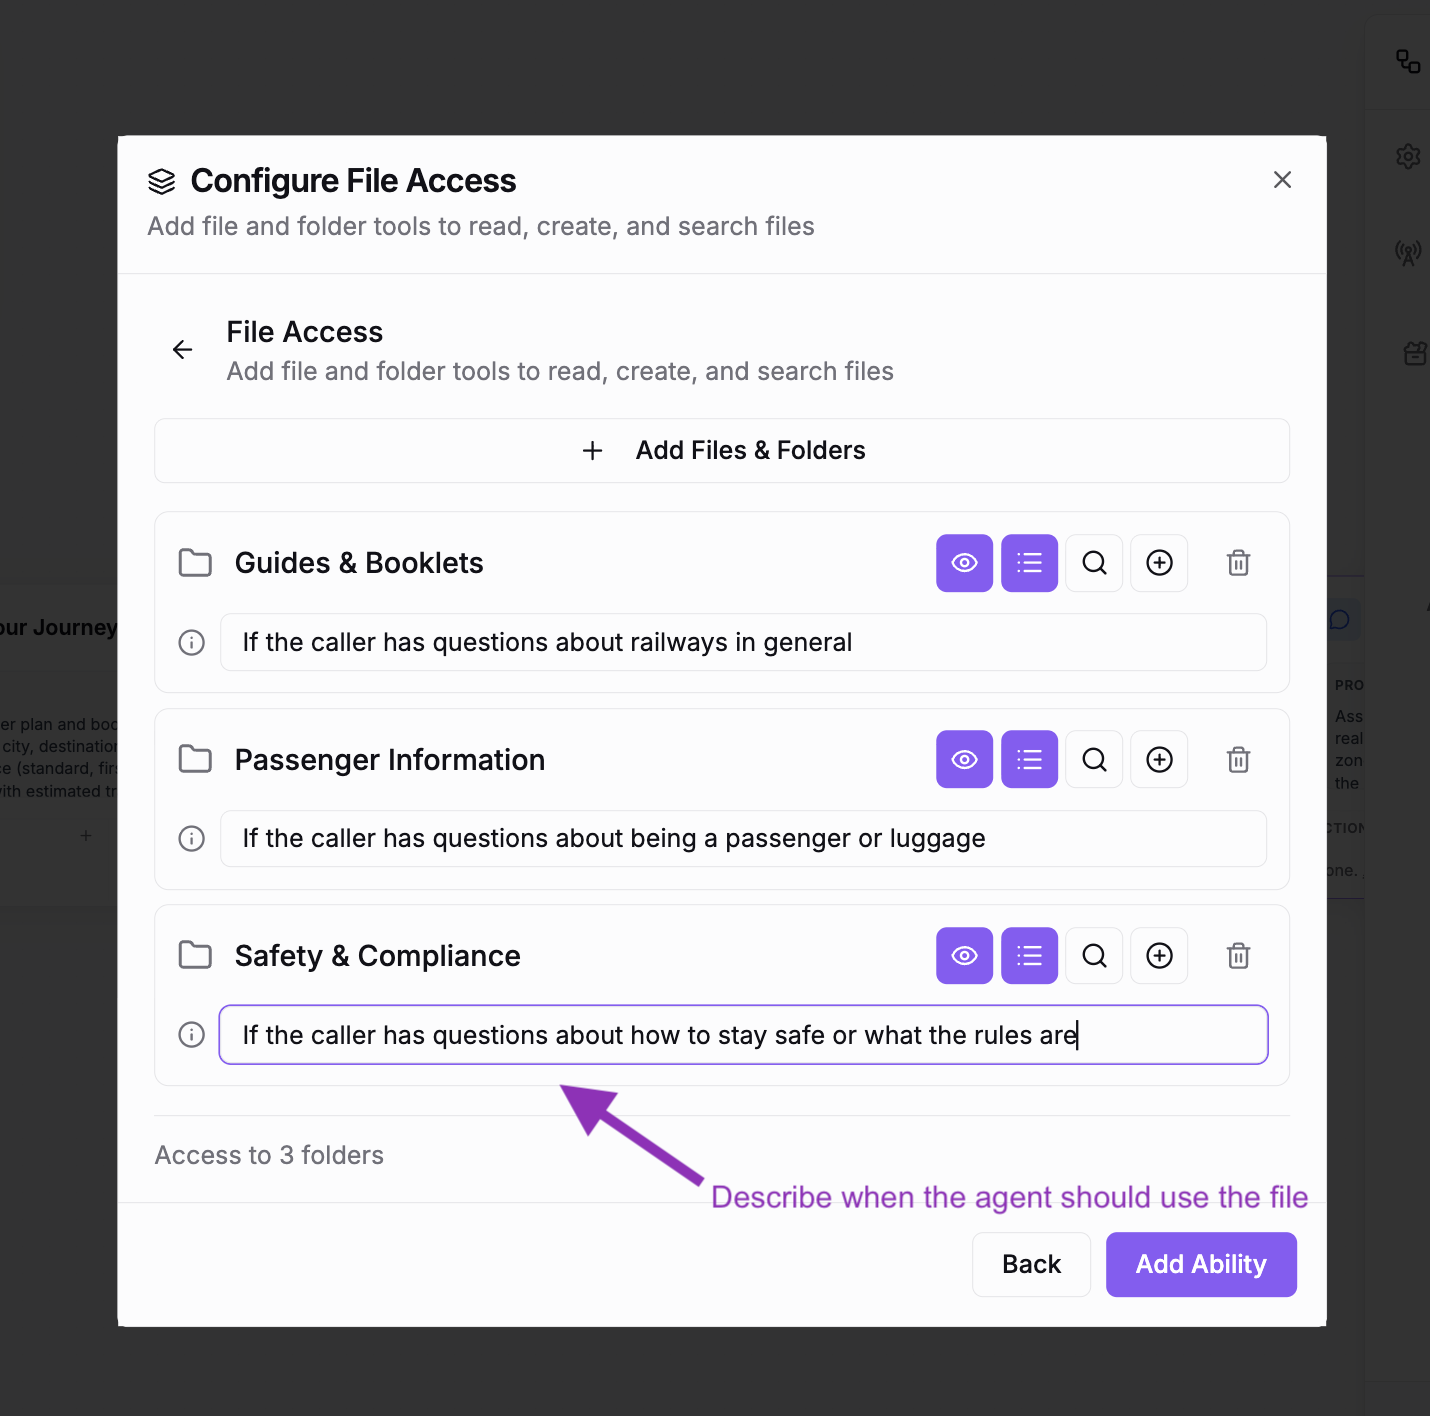
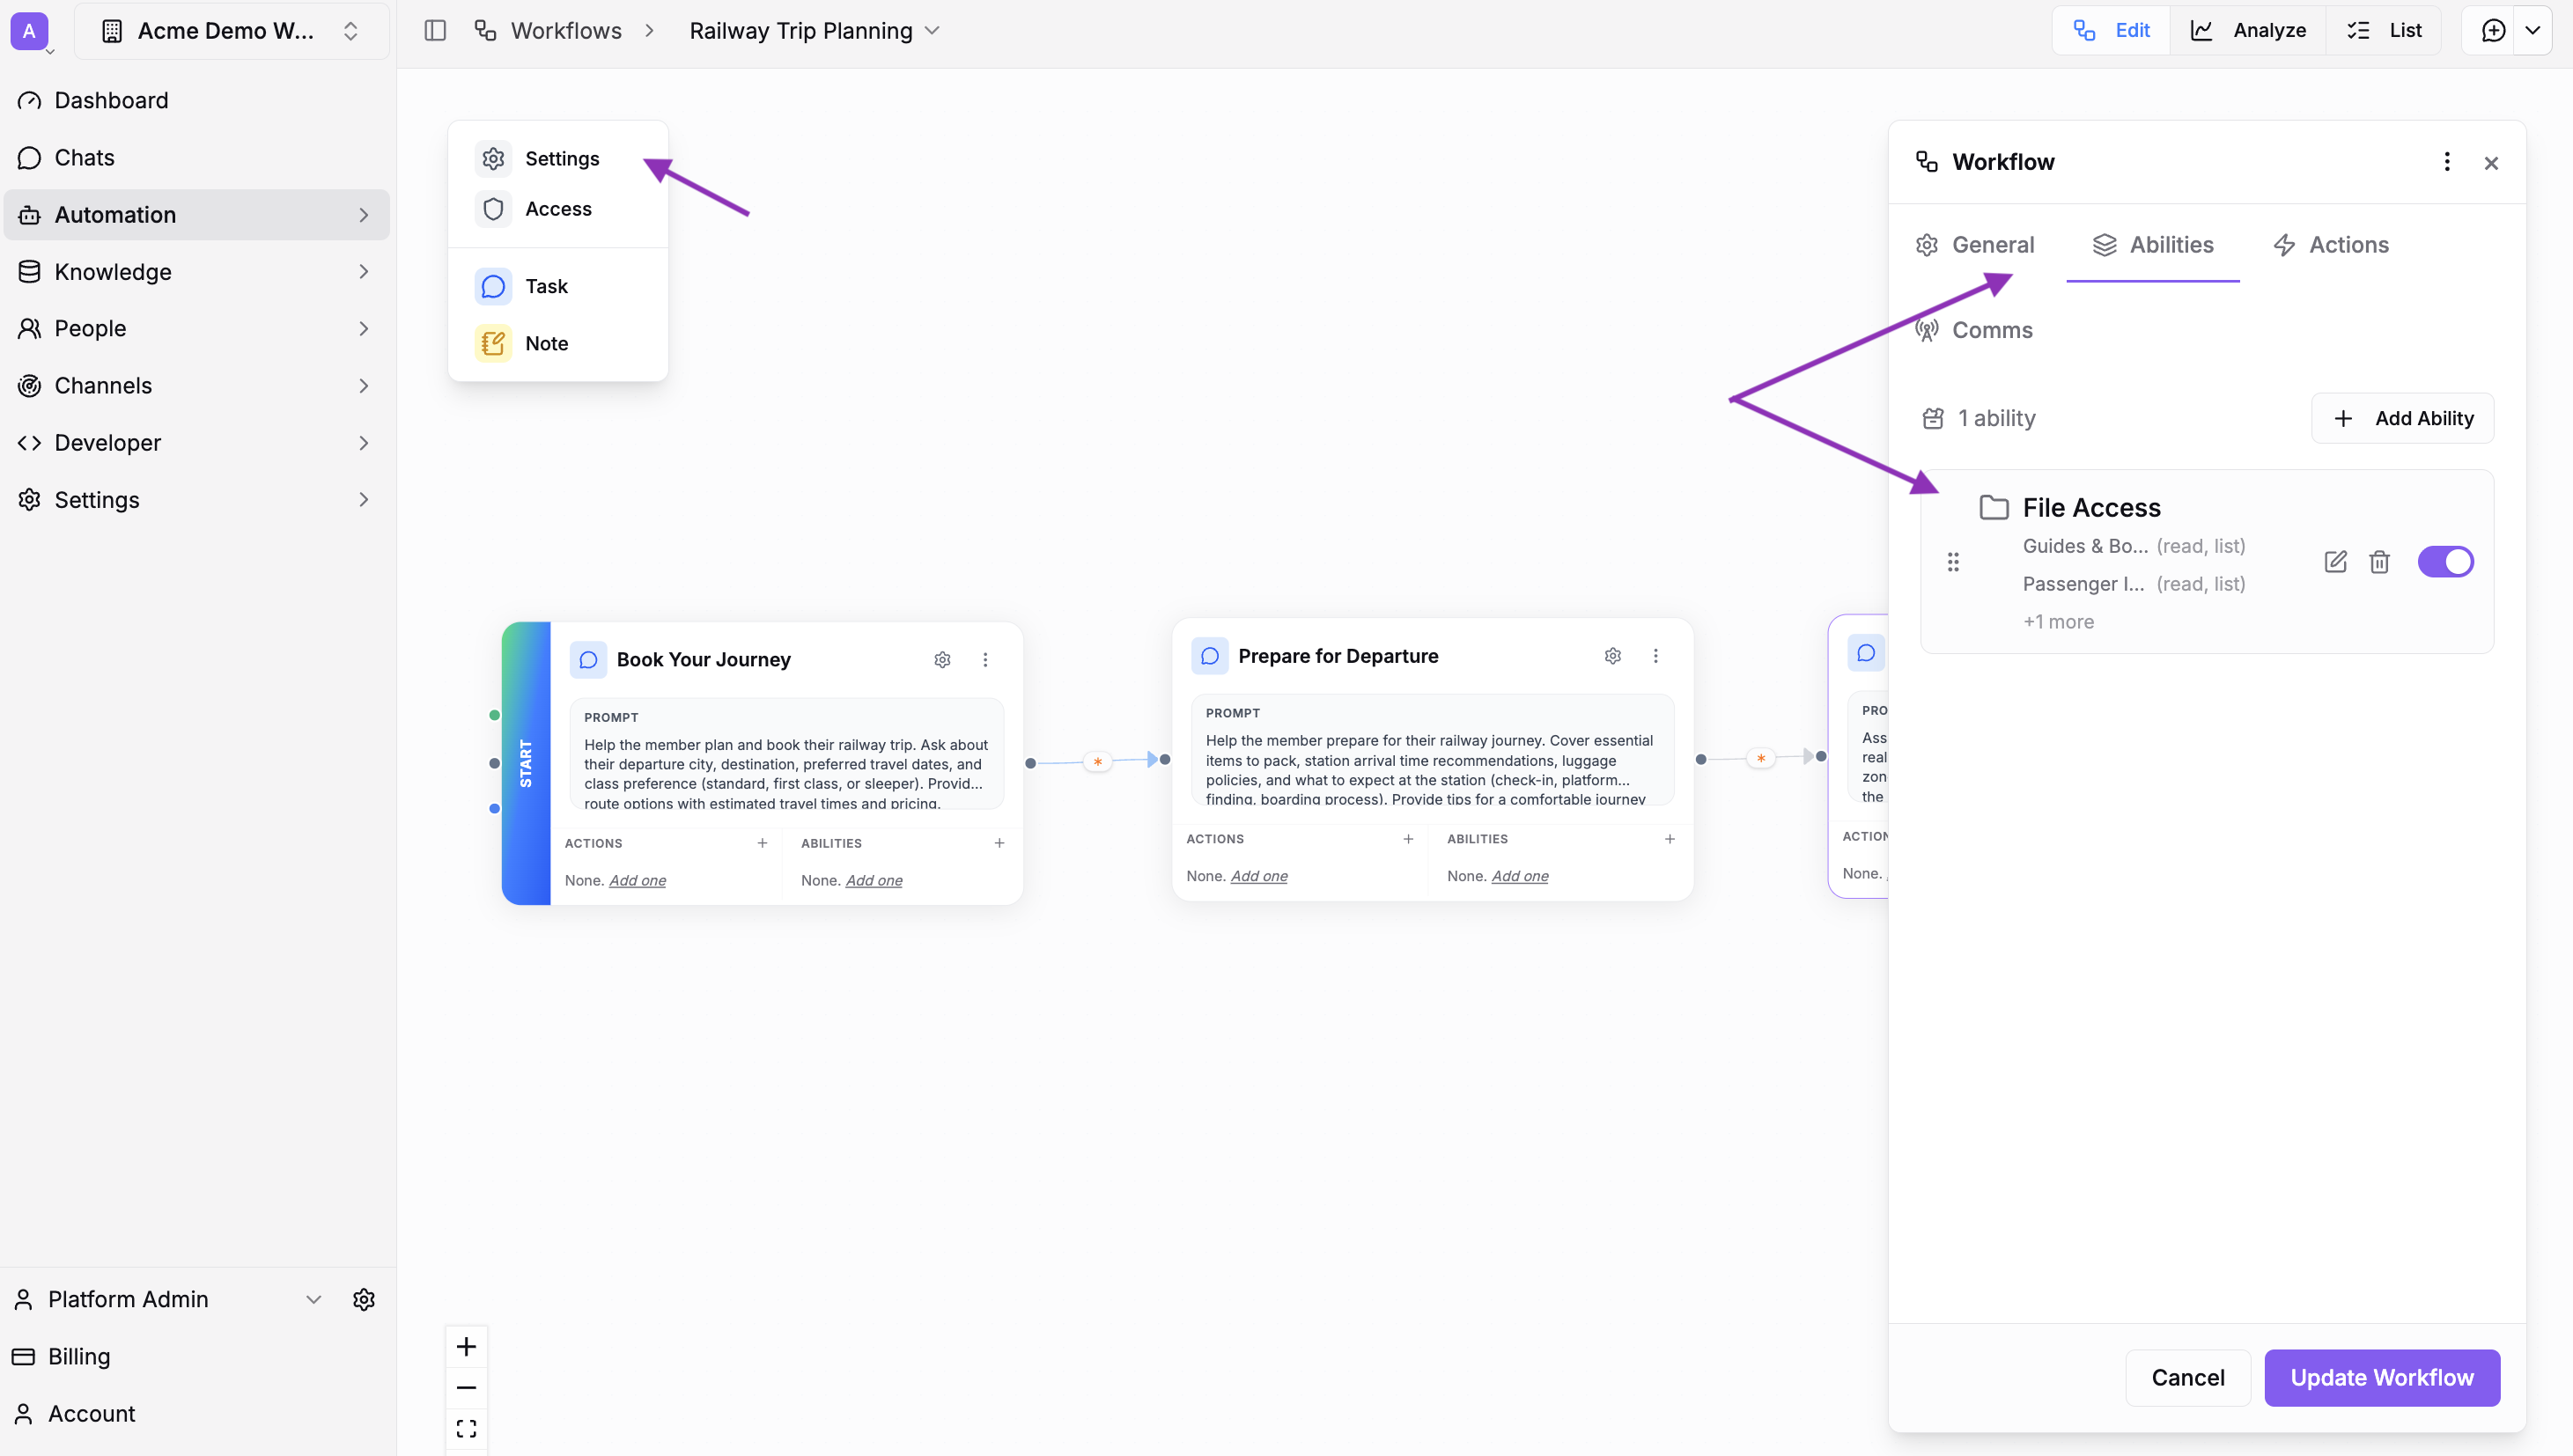
Only enable Write and Create if the agent should be able to modify or add files.
You can also add File Access at the task level if different tasks need access to different document sets. See File Access for details.
Step 5: Instruct the Agent to Use the Documents
File Access gives the agent the tools. The workflow instructions tell it when and how to use them.
Edit your workflow or task instructions to describe the library and set expectations. Here's an example:
You have access to the Railway Information, a collection of materials covering travel by train. When someone asks a question related to these topics:
- Search the library for relevant materials
- Use what you find to provide an accurate response
Base your responses on the materials in the library. Do not provide guidance beyond what the documents contain.
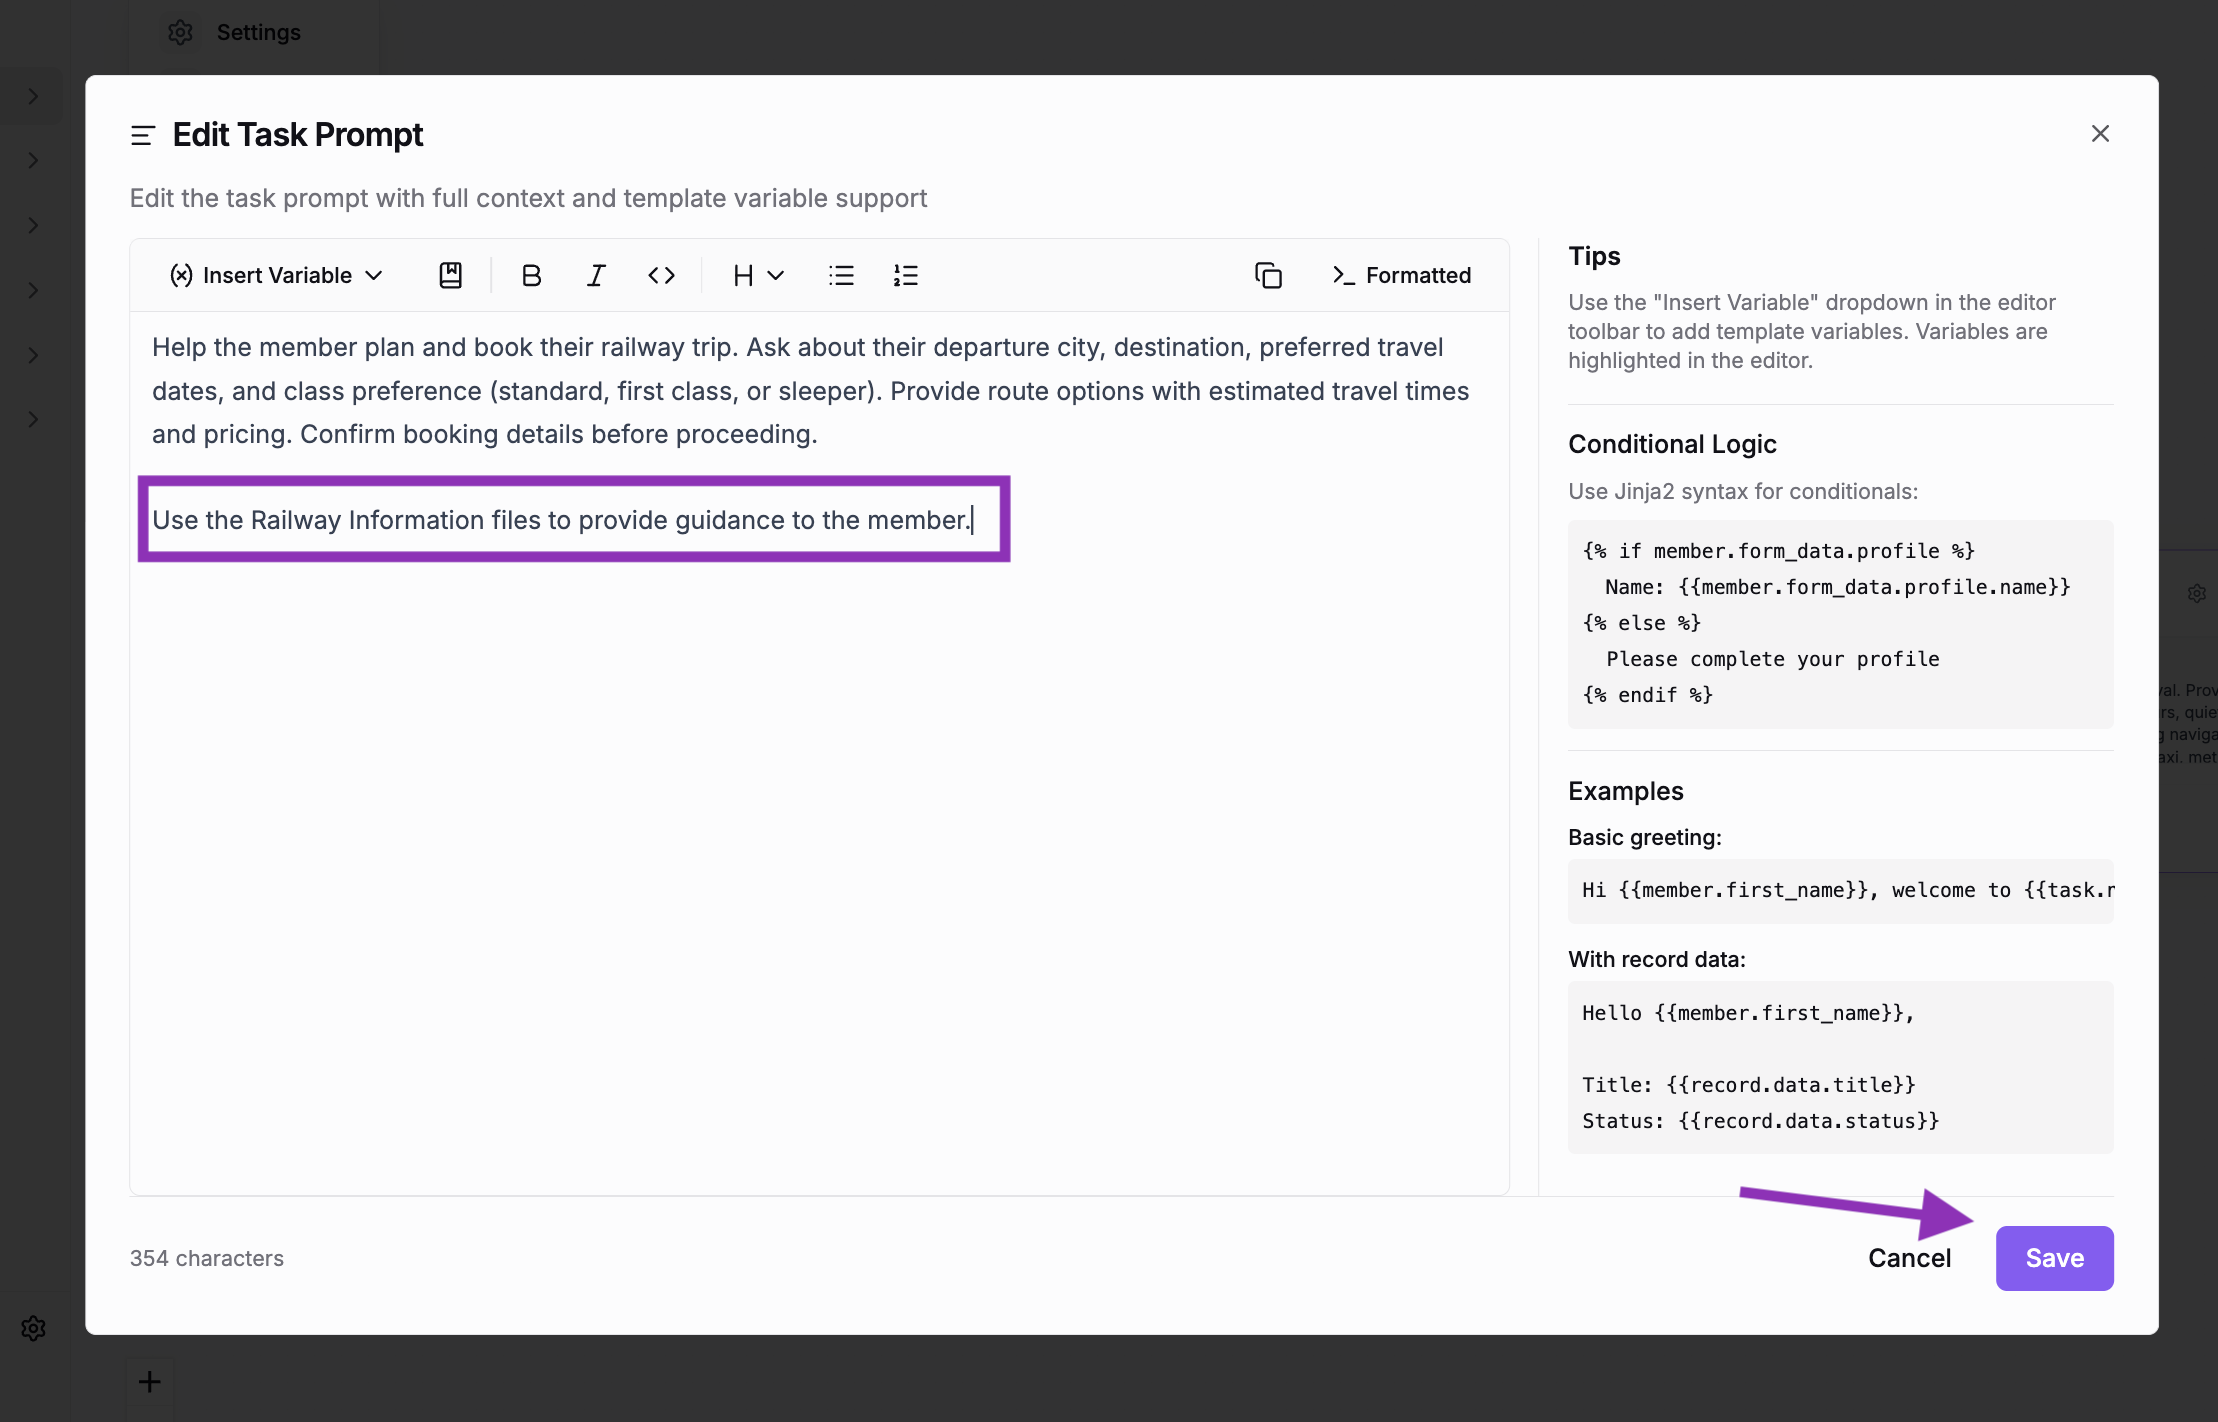
Three things make instructions effective:
- Describe what the library contains — a brief summary helps the agent decide when to search
- Define when to search — "when someone asks about nutrition" is more effective than leaving it open-ended
- Set boundaries — specify what the agent should and shouldn't do with the information
Confirm the Result
Start a test conversation and ask questions your documents should answer.
-
Open a test chat in your workflow (or create a test assignment for a test member)
-
Ask a specific question that your documents cover — something concrete, not vague
-
Verify the agent searches the library. You should see it use the search tool before responding. The answer should draw from your uploaded content, not generic knowledge.
-
Ask about something the documents don't cover. The agent should acknowledge the limitation rather than guessing.
If the agent isn't finding results, check that:
- Indexing is enabled on the correct folders
- The File Access ability has Search enabled
- The folder is included in the ability's selected files/folders
- Your files contain extractable text (scanned image PDFs without OCR won't index)
What's Next
- Refine your instructions. After reviewing the first few conversations, adjust the workflow instructions. If the agent searches too broadly, narrow the scope. If it misses relevant content, broaden the guidance or reorganize folders.
- Share documents directly. You can instruct the agent to share specific files with people during conversations — for example, "If someone asks about enrollment, share the Program Overview guide." See Files for details on file sharing and access permissions.
- Keep the library current. New files added to an indexed folder are indexed automatically. Remove outdated files to keep search results relevant.
Related Resources
Send an HTML Email Campaign with AI-Powered Reply Handling
Build a complete email campaign with personalized HTML emails and AI-powered reply handling.
Build Your First Workflow — Appointment Reminder
Create an automated appointment reminder workflow that contacts members via SMS and handles rescheduling requests.
Create a Conversational Form — Patient Intake
Build an AI-powered patient intake workflow that collects demographic, insurance, and medical history information through natural conversation.
All Guides
Browse all available guides